So a couple of weeks ago, I ran out of space on my bulletin board for new pins. I knew I had to find a new storage solution for my enamel pin collection, but all my ideas either required an unpleasant amount of effort (multiple hand-embroidered pin hoops) or wall space I don't have (a huge bulletin board). I also had a lot of super picky requirements. I didn't want to endlessly rearrange pins as I added new ones, and I needed to be able to find and grab individual pins as needed, both for wearing and for Instagram features.
My solution worked out even better than I expected and meets all my requirements. The pins aren't out on display anymore, but they are safe, protected, organized, and have room to grow. And, best of all, it only cost $30 and 30 minutes! So here's what you'll need:
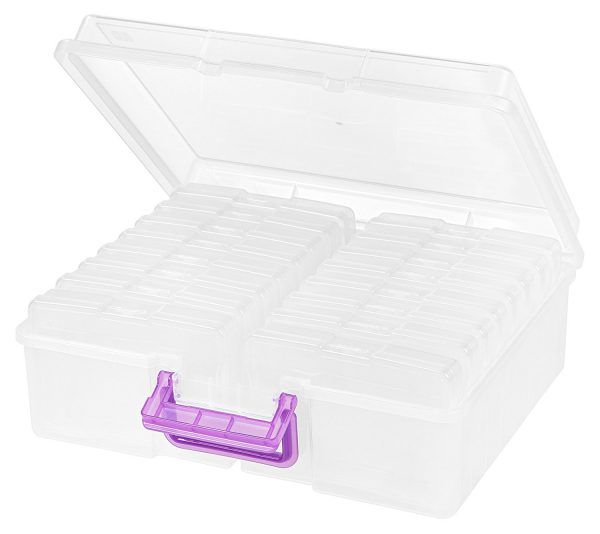
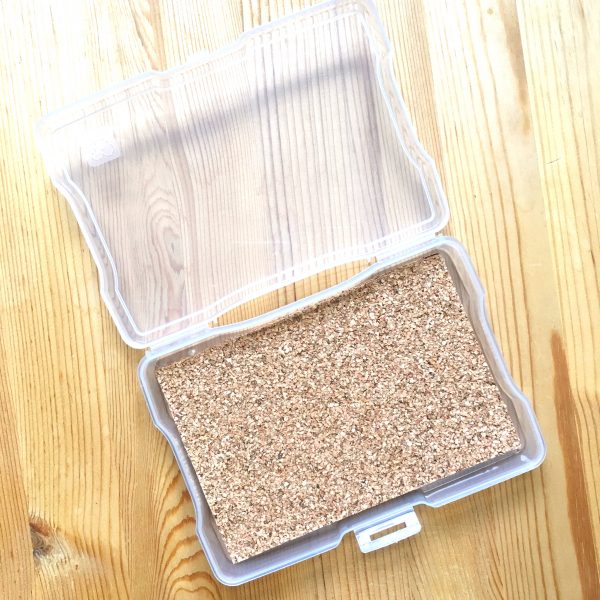
- Iris Extra Large 4" x 6" Photo Keeper (Comes with 16 individual 4x6" plastic cases. They also have a small model with 6 plastic cases if your pin collection isn't as out of control as mine.)
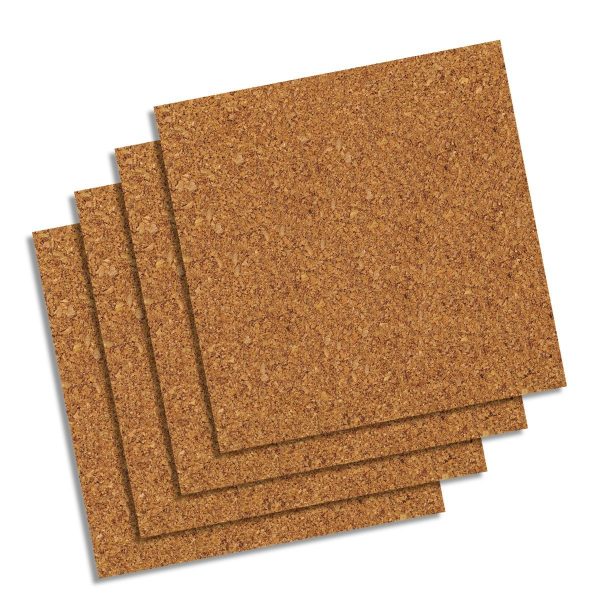
- 12x12" cork tiles (A set of four is enough for 12 out of the 16 plastic cases, so you'll need to get 2 sets if you want to fill all 16 cases.)
- Hot glue gun w/ glue
- Sharp scissors
1. Using a ruler and a pen, divide each 12x12" cork tile into six 4x6" sections.
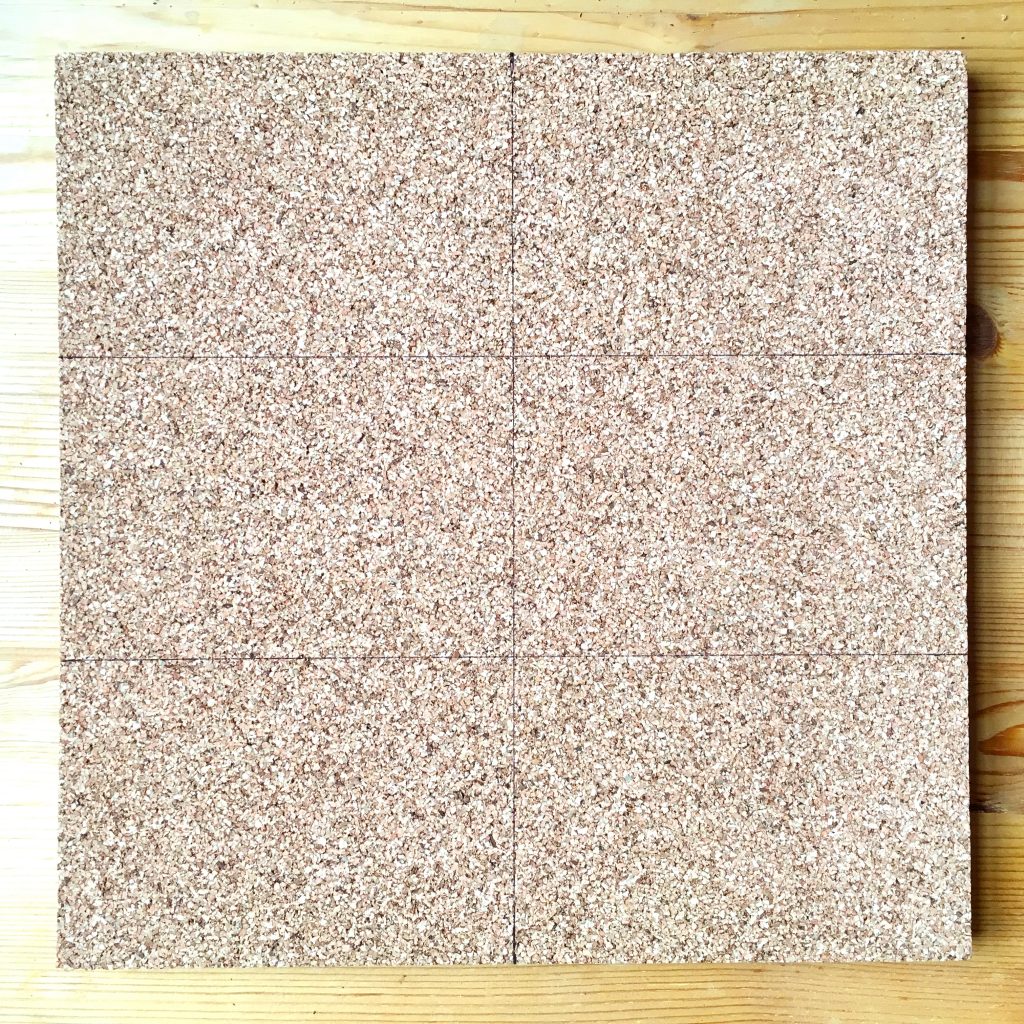
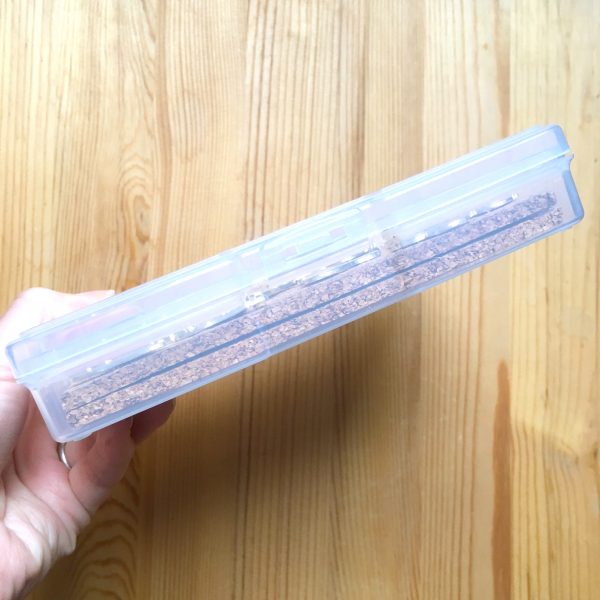
2. Cut along the lines! The cork will crumble a little at the edges, but the sharper your scissors are the less messy this will be. If you're using 1/4" thick cork as I did, you'll need 32 4x6" rectangles of cork because we have to double them up to get the desired thickness. If you're using 1/2" thick cork, you can probably get away with 16 rectangles.

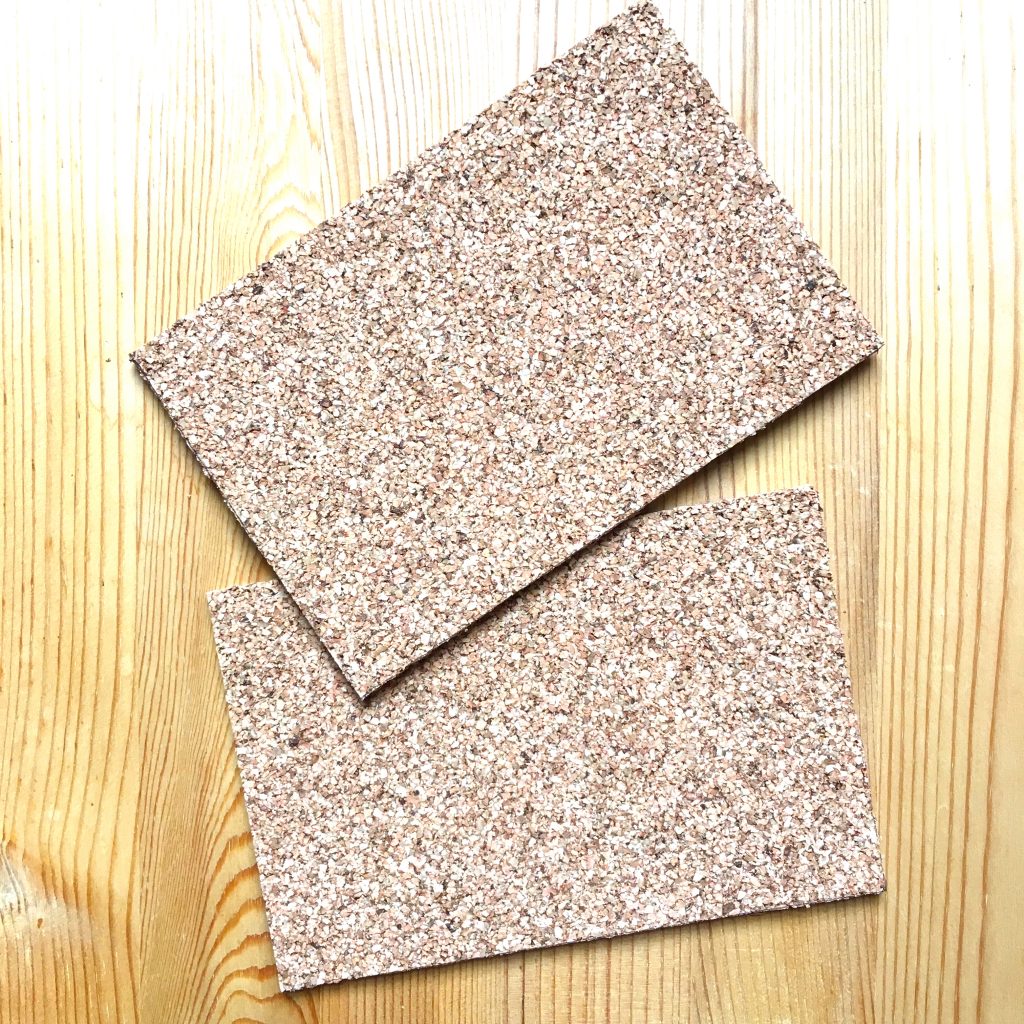
3. If you're using 1/4" thick cork, glue two pieces together to create each cork insert for the plastic cases. I used just four generous dots of hot glue, one in each corner (lazy, remember?) but you can glue all around the edges and criss-cross the center for a sturdier bond. Repeat to make 16 cork inserts total. If you're using 1/2" thick cork, skip this step.
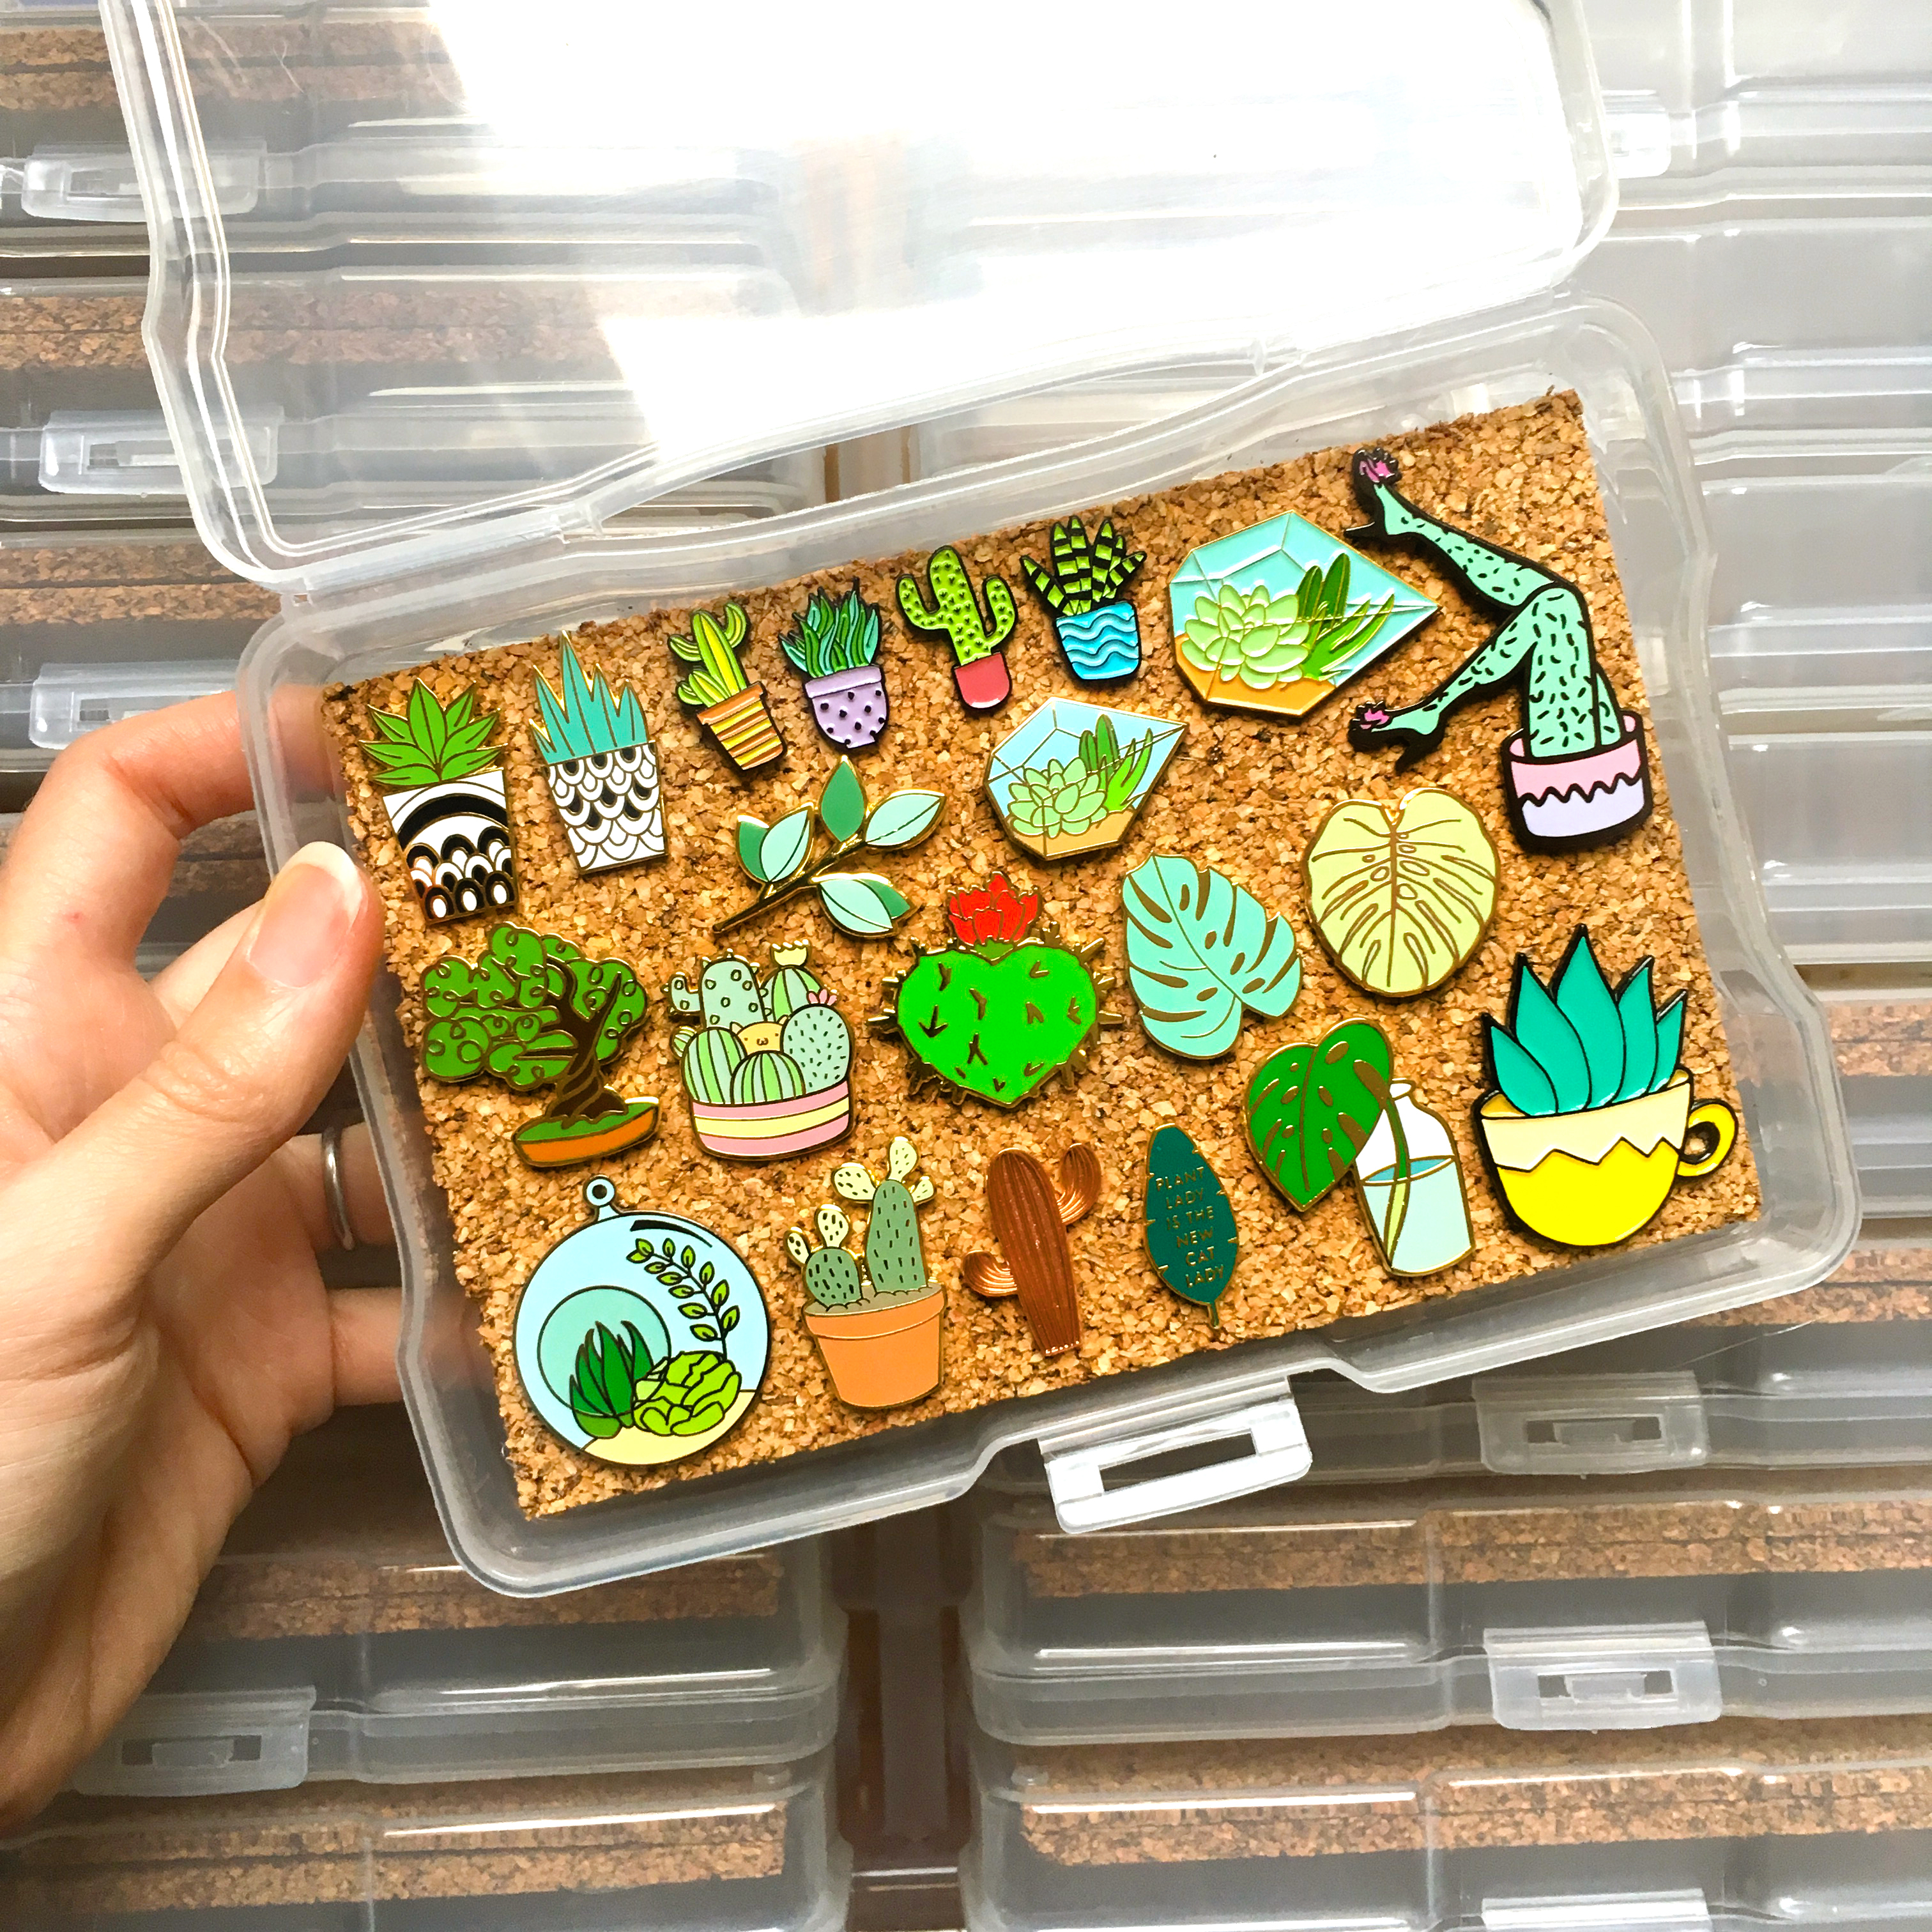
4. Glue a cork insert into each plastic case. I used two big dots of hot glue in the center-left and center-right and it was plenty to secure the cork. If you want to be able to remove the cork and pins together for occasional display, you can skip this step. Keep in mind that you can also photograph your pins right inside this case, since they're already on a nice cork background. 🙂
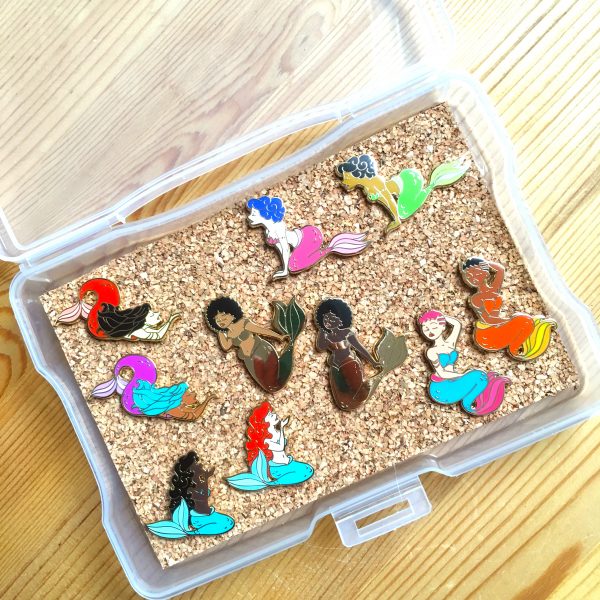

That's it! You're done! Take some time to admire your hard work-- all 30 minutes of it.


One question I’ve been wondering with all these enamel pin storage ideas.. where do you keep the backing since I can see the cork is too thick to put the backing on the pin :O
I actually store all my pin backs separately, in a little box. I never wear all my pins at once, so I don’t need more than a few pin backs at a time. I also tend to use locking pin backs for pins I wear daily, so the original backs aren’t useful anyway. Hope that helps!
Totally love this. Put mine together. Love it.